Getting started
Create your first Mini Agency site.
This guide takes you from a new Mini Agency account to a first editable site. The goal is not to learn every feature at once. The goal is to create one real page, understand where it lives, and know how to preview it safely.
1. Create or open your workspace
Sign in at the app domain and open the workspace switcher in the top bar. A workspace contains the sites, members, billing context, and agency settings you can access. Most solo creators start with one personal workspace. Agencies often have one parent agency workspace plus client workspaces underneath it.
If the account is new, Mini Agency asks for the first site name. Use a real name, not a placeholder. The site name is used in the dashboard, switcher, staging URLs, and some generated defaults. You can rename it later, but starting clean makes the rest of the setup easier to read.
2. Create the first site
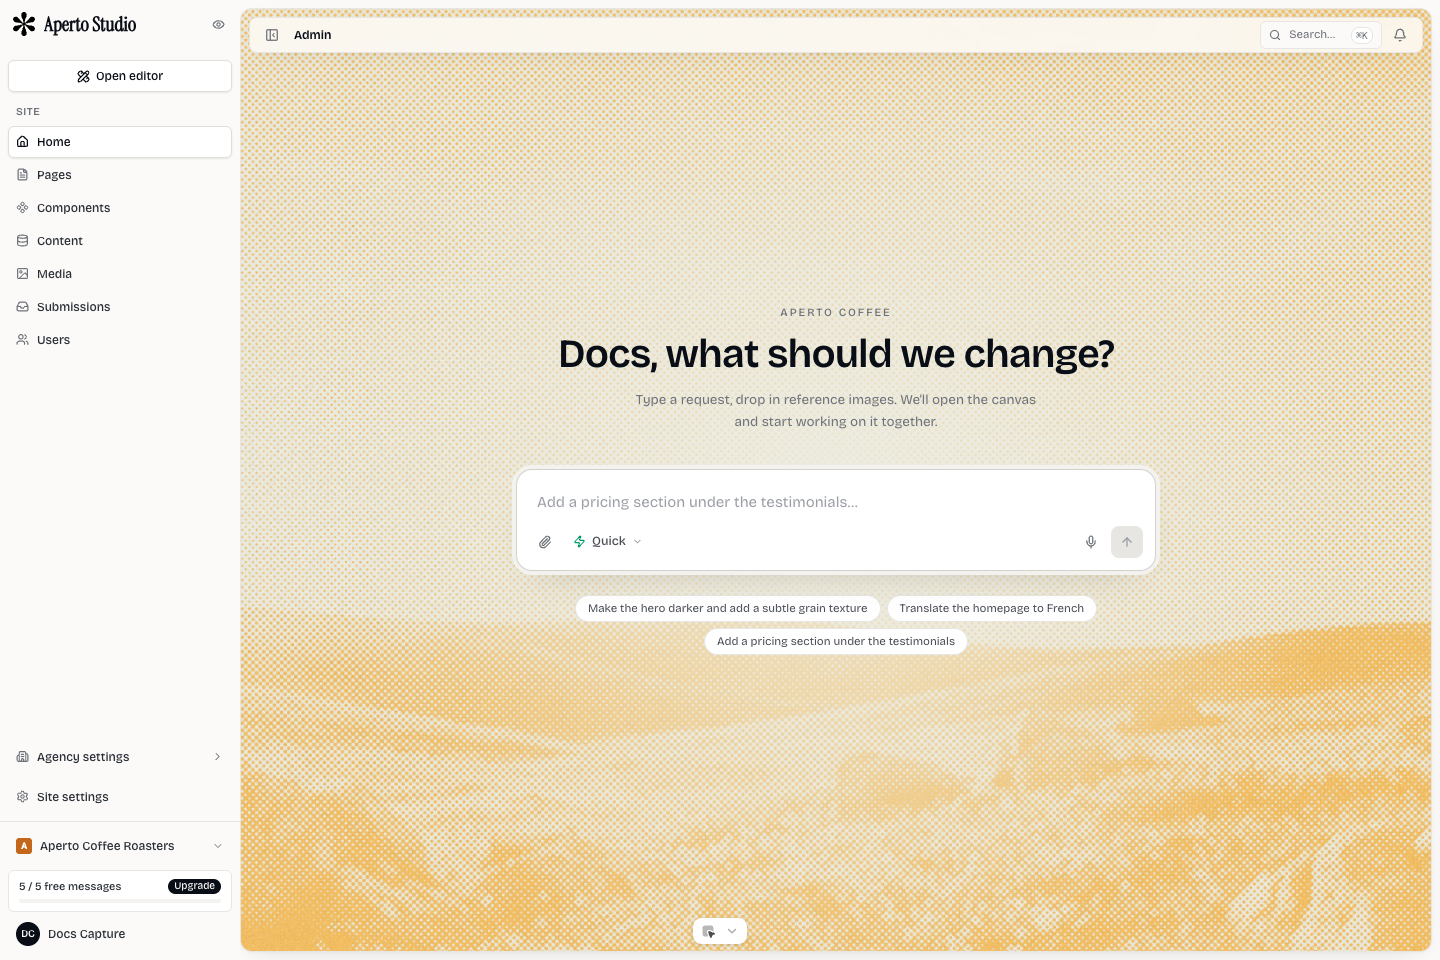
From onboarding or the Sites page, create a site. Mini Agency creates the document, default pages, design system, and initial workspace links. When the site exists, the Admin area becomes the operational hub for it.
You should see the main site surfaces:
- Pages for page inventory, slugs, status, previews, and editor links.
- Components for reusable sections.
- Content for collections and CMS items.
- Media for uploads and generated assets.
- Submissions for form entries.
- Settings for site identity, SEO, domains, AI model, and billing-related controls.
3. Open the editor
Open the site editor from the Admin home, Pages list, or the Edit action on a page. The editor is the canvas where page structure, visual styles, and content are changed. It has three working areas: left rail for structure and insert tools, center canvas for selecting and arranging nodes, and right rail for properties.
Make one small edit first: select a text node, change the copy in the properties panel, then click away. Mini Agency commits text fields on blur, Enter, or unmount. That prevents per-keystroke saves and keeps undo history useful.
4. Preview breakpoints
Use the editor breakpoint controls to inspect desktop, tablet, and mobile. Do this before adding many sections. The editor stores responsive overrides, so a page can look good on desktop while still needing mobile spacing or font-size adjustments.
A practical first-pass check:
- Hero headline wraps without overlapping other text.
- Header navigation remains usable on mobile.
- Buttons stay large enough to tap.
- Images keep a stable ratio and do not crop important content.
- Footer links are reachable without horizontal scroll.
5. Review staging before publishing
Every site has a staging renderer under the app domain. Staging serves the live editor document, so it is the best place to review with teammates before production. Staging can be workspace-only, password protected, or public with no indexing.
Use staging for review. Use publishing only when the page is ready for visitors.
First-site checklist
- Name the workspace and site clearly.
- Create or confirm the home page.
- Edit one real section in the editor.
- Check desktop, tablet, and mobile.
- Add at least one useful meta title and description.
- Open staging and confirm the rendered page matches the canvas.